A Quick Microsoft Access 97 Tutorial
By Charles W. Neville, © Charles W. Neville, March 2001
The first thing you need to do is make a copy of the Northwind sample database to avoid altering and perhaps permanently disabling it. You should use this copy instead of the original database while you go through this tutorial. Amazingly enough, you can copy the Northwind sample database by copying it to the clipboard using the Edit menu of My Computer, and then pasting it into a suitable folder. Where you want to paste it depends on your situation. If you are working on your own machine, a good place to paste your copy of Northwind is My Documents. If you are working in a shared laboratory environment, you may have disk space set aside for your exclusive use on a server. In some laboratories, this is known as the M: drive. This is also a good place to paste your copy of Northwind. Finally, if all else fails, create a folder with your name on it in the Temp directory, and paste Northwind there.
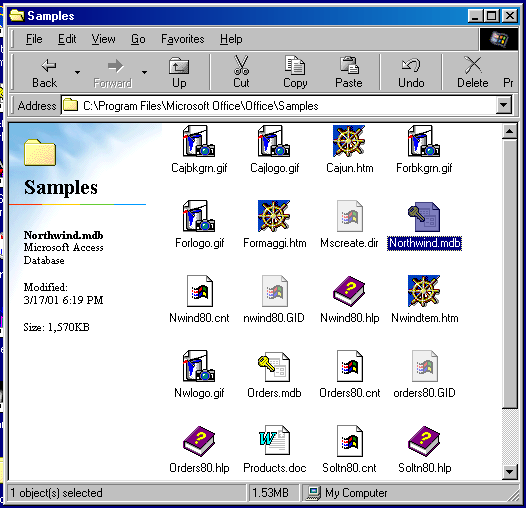
Step 1. Start or log in to your computer. Open My Computer at the upper left hand corner of the desktop. The Northwind sample database is usually in the folder C:\Program Files\Microsoft Office\Office\Samples, and, just in case you need it, the full name of the database is Northwind.mdb. Browse until you find the folder containing Northwind, open the folder, and select Northwind by clicking on it once.
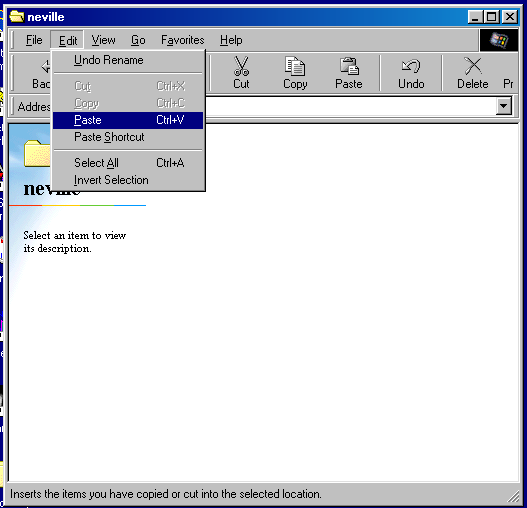
Step 2. Click the Edit menu of My Computer and press Copy. This copies the entire Northwind database to the clipboard.

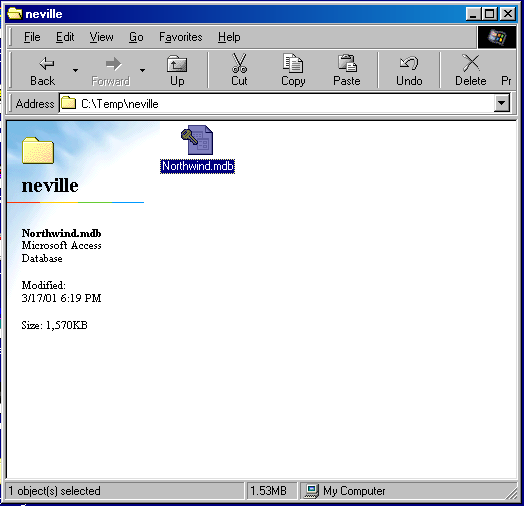
Step 3. Using the back arrow or the address box of My Computer, move to the folder where you want to paste your copy of Northwind. Click the Edit menu of My Computer and press Paste. This pastes your entire copy of the Northwind database into the folder.
Step 1. Open your copy of Northwind by double clicking it.
Step 2. If all goes well, Microsoft Access will start up, and you will see the opening screen of the Northwind database. Press the OK button to get the Northwind Traders spash screen out of the way and start working with the actual Northwind database.

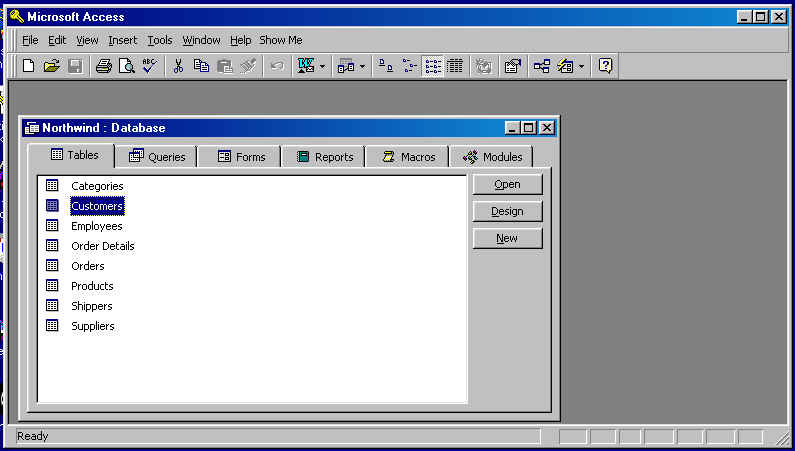
Once the opening splash screen is out of the way, you can see the database window. It consists of a number of tabs, each of which displays a different aspect of the database. Typically, the Northwind database opens with the Forms tab selected. In Microsoft applications, Forms are windows used to interact with the application. Later, after you have finished this tutorial, you might want to satisfy your curiosity about forms. If so, try selecting the Main Switchboard form, and then pressing the Open button. As is typical in Microsoft applications, you can close a form by clicking the small x at the top right of the form on its title bar. (Be careful not to click on the x at the top right of the Microsoft Access title bar, or you will close Access completely.) If you want to find out how to build your own forms and develop Microsoft Access applications, try reading Roger Jenning's excellent book, Using Access 97, published by Que Press.

We are mainly interested in the relational database aspects of Microsoft Access, so let us open the Tables tab and look at some of the tables in the Northwind database.
Step 1. Press the small tab marked Tables at the upper left of the database window, and then click ONCE on Customers to select the Customers Table.
Step 2. Press the Design button at the right of the database window to view the design (table definition) of the Customers Table. Notice the small key by CustomerID. As you have probably already guessed, this means that CustomerID is a key field.
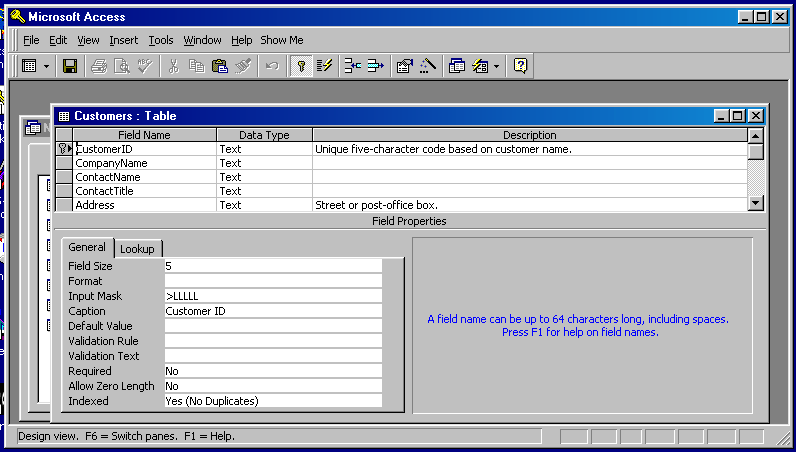
Move the small vertical scroll bar at the right side of the table description window up and down so you can read the names and data types of all the fields in the Customers Table.
Caution. Do not change any of the table field definitions, as you do not want to mess up the database. (Changing table field definitions without knowing what you are doing is one of the few really bad things you can do to a database. If you change the table field definitions, you will destroy a large part of the data in the table.)
Step 3. After you have inspected the Customers Table design, click on the small x at the top right of the Customers Table on its title bar to close the table definition panel and return to the Tables tab. Again, be careful not to click on the x at the top right of the Microsoft Access title bar, or you will close Access completely.
Step 1. Be sure the Tables tab is visible in the database window. Open the Customers Table by double clicking on it. This will display the data in the table.
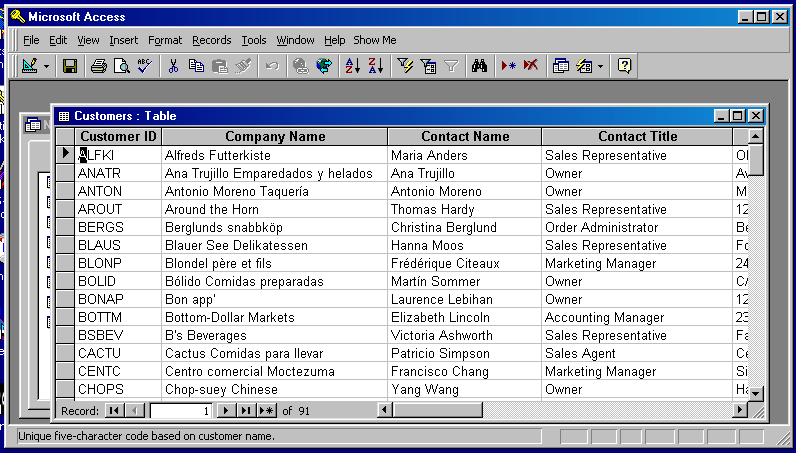
The Customers Table contains only 91 records, so it is easy to scroll through the opened table and view all the records. Move the vertical scrollbar up and down so you can inspect the data in some of the records. Move the horizontal scrollbar back and forth to view all the fields in a given record. Then close the table by clicking on the small x at the top right of the table on its title bar. Again, be careful not to close Access itself.
View the definitions and data for each of the other tables in the database window. Note the large number of datatypes supported by Access. These include text fields of various sizes, memo fields which are text fields of unlimited size, number fields, autonumber fields, and even image fields. To actually see the images in the Picture field in the Categories Table, you have to double click them while the table is open. Those of you familiar with object technology will be able to see that Access 97 is in part an object oriented database because access methods (to view images for instance) are bundled with the data. However, Access 97 is not fully object oriented because (1) it does not support inheritance, and (2) you are not able to specify the access methods for fields in a table.
The next thing to do is to study how to Add and Change Data